

🚀 Welcome to Myrmex! This guide gets you from zero to your first real result — a connected asset, an AI-driven analysis, and a report — as quickly as possible.
What You’ll Do
1
Set up your environment
Sign in and create your domain, organization, and first context.
2
Connect an asset
Install the Myrmex agent on a device, or connect an existing tool.
3
Ask the AI
Use the Workspace to investigate and act in plain language.
4
Review & report
Check alerts and posture, then generate a shareable report.
Step 1 — Set Up Your Environment
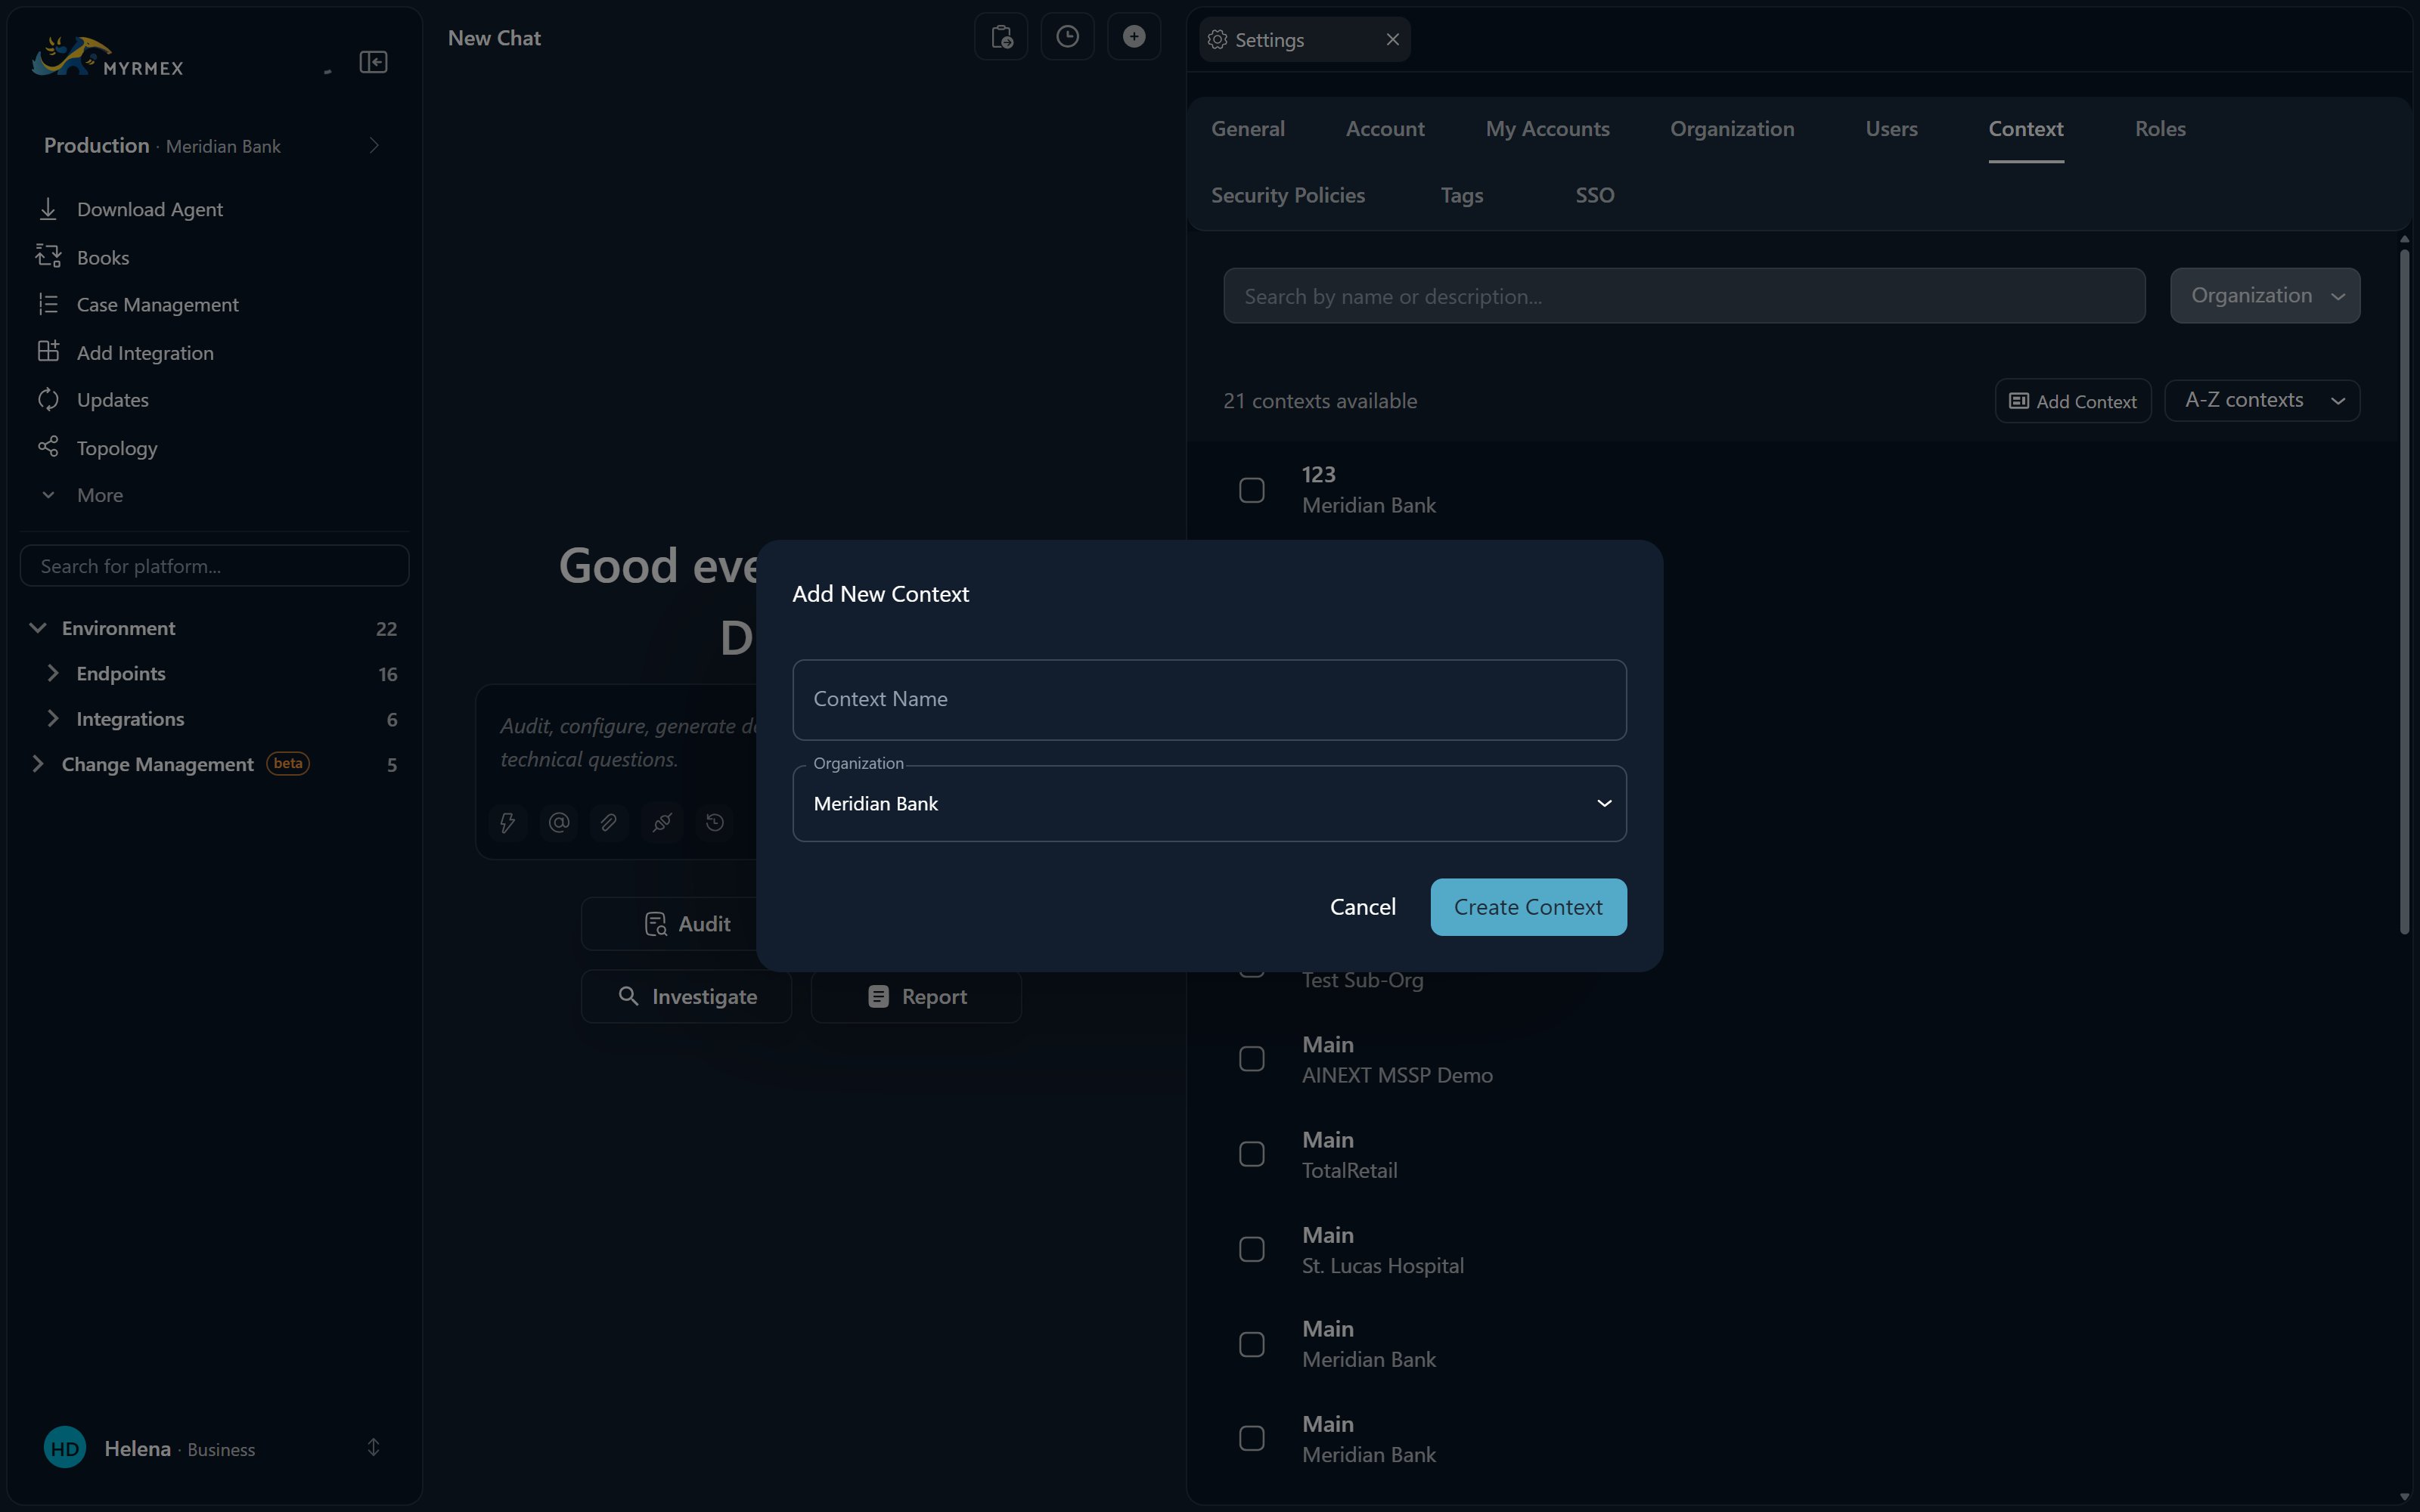
The first time you sign in, Myrmex walks you through creating your domain (your company’s space), your first organization (a tenant), and a context (a working environment such as “Production”). If you were invited to an existing organization, you’ll join it directly instead.See the full sign-up walkthrough
See the full sign-up walkthrough
Signing in and signing up start in the same place — there is no separate
registration form. You enter your email once and Myrmex decides whether to ask
for your password or walk you through creating an account. You never fill in a
“create domain” form: your domain, organization, and default context are
provisioned from what you type here.
1
Enter your email
Open the sign-in page and type your email address — or continue with
Google or Microsoft. If the address has no account yet, Myrmex
switches to the sign-up path.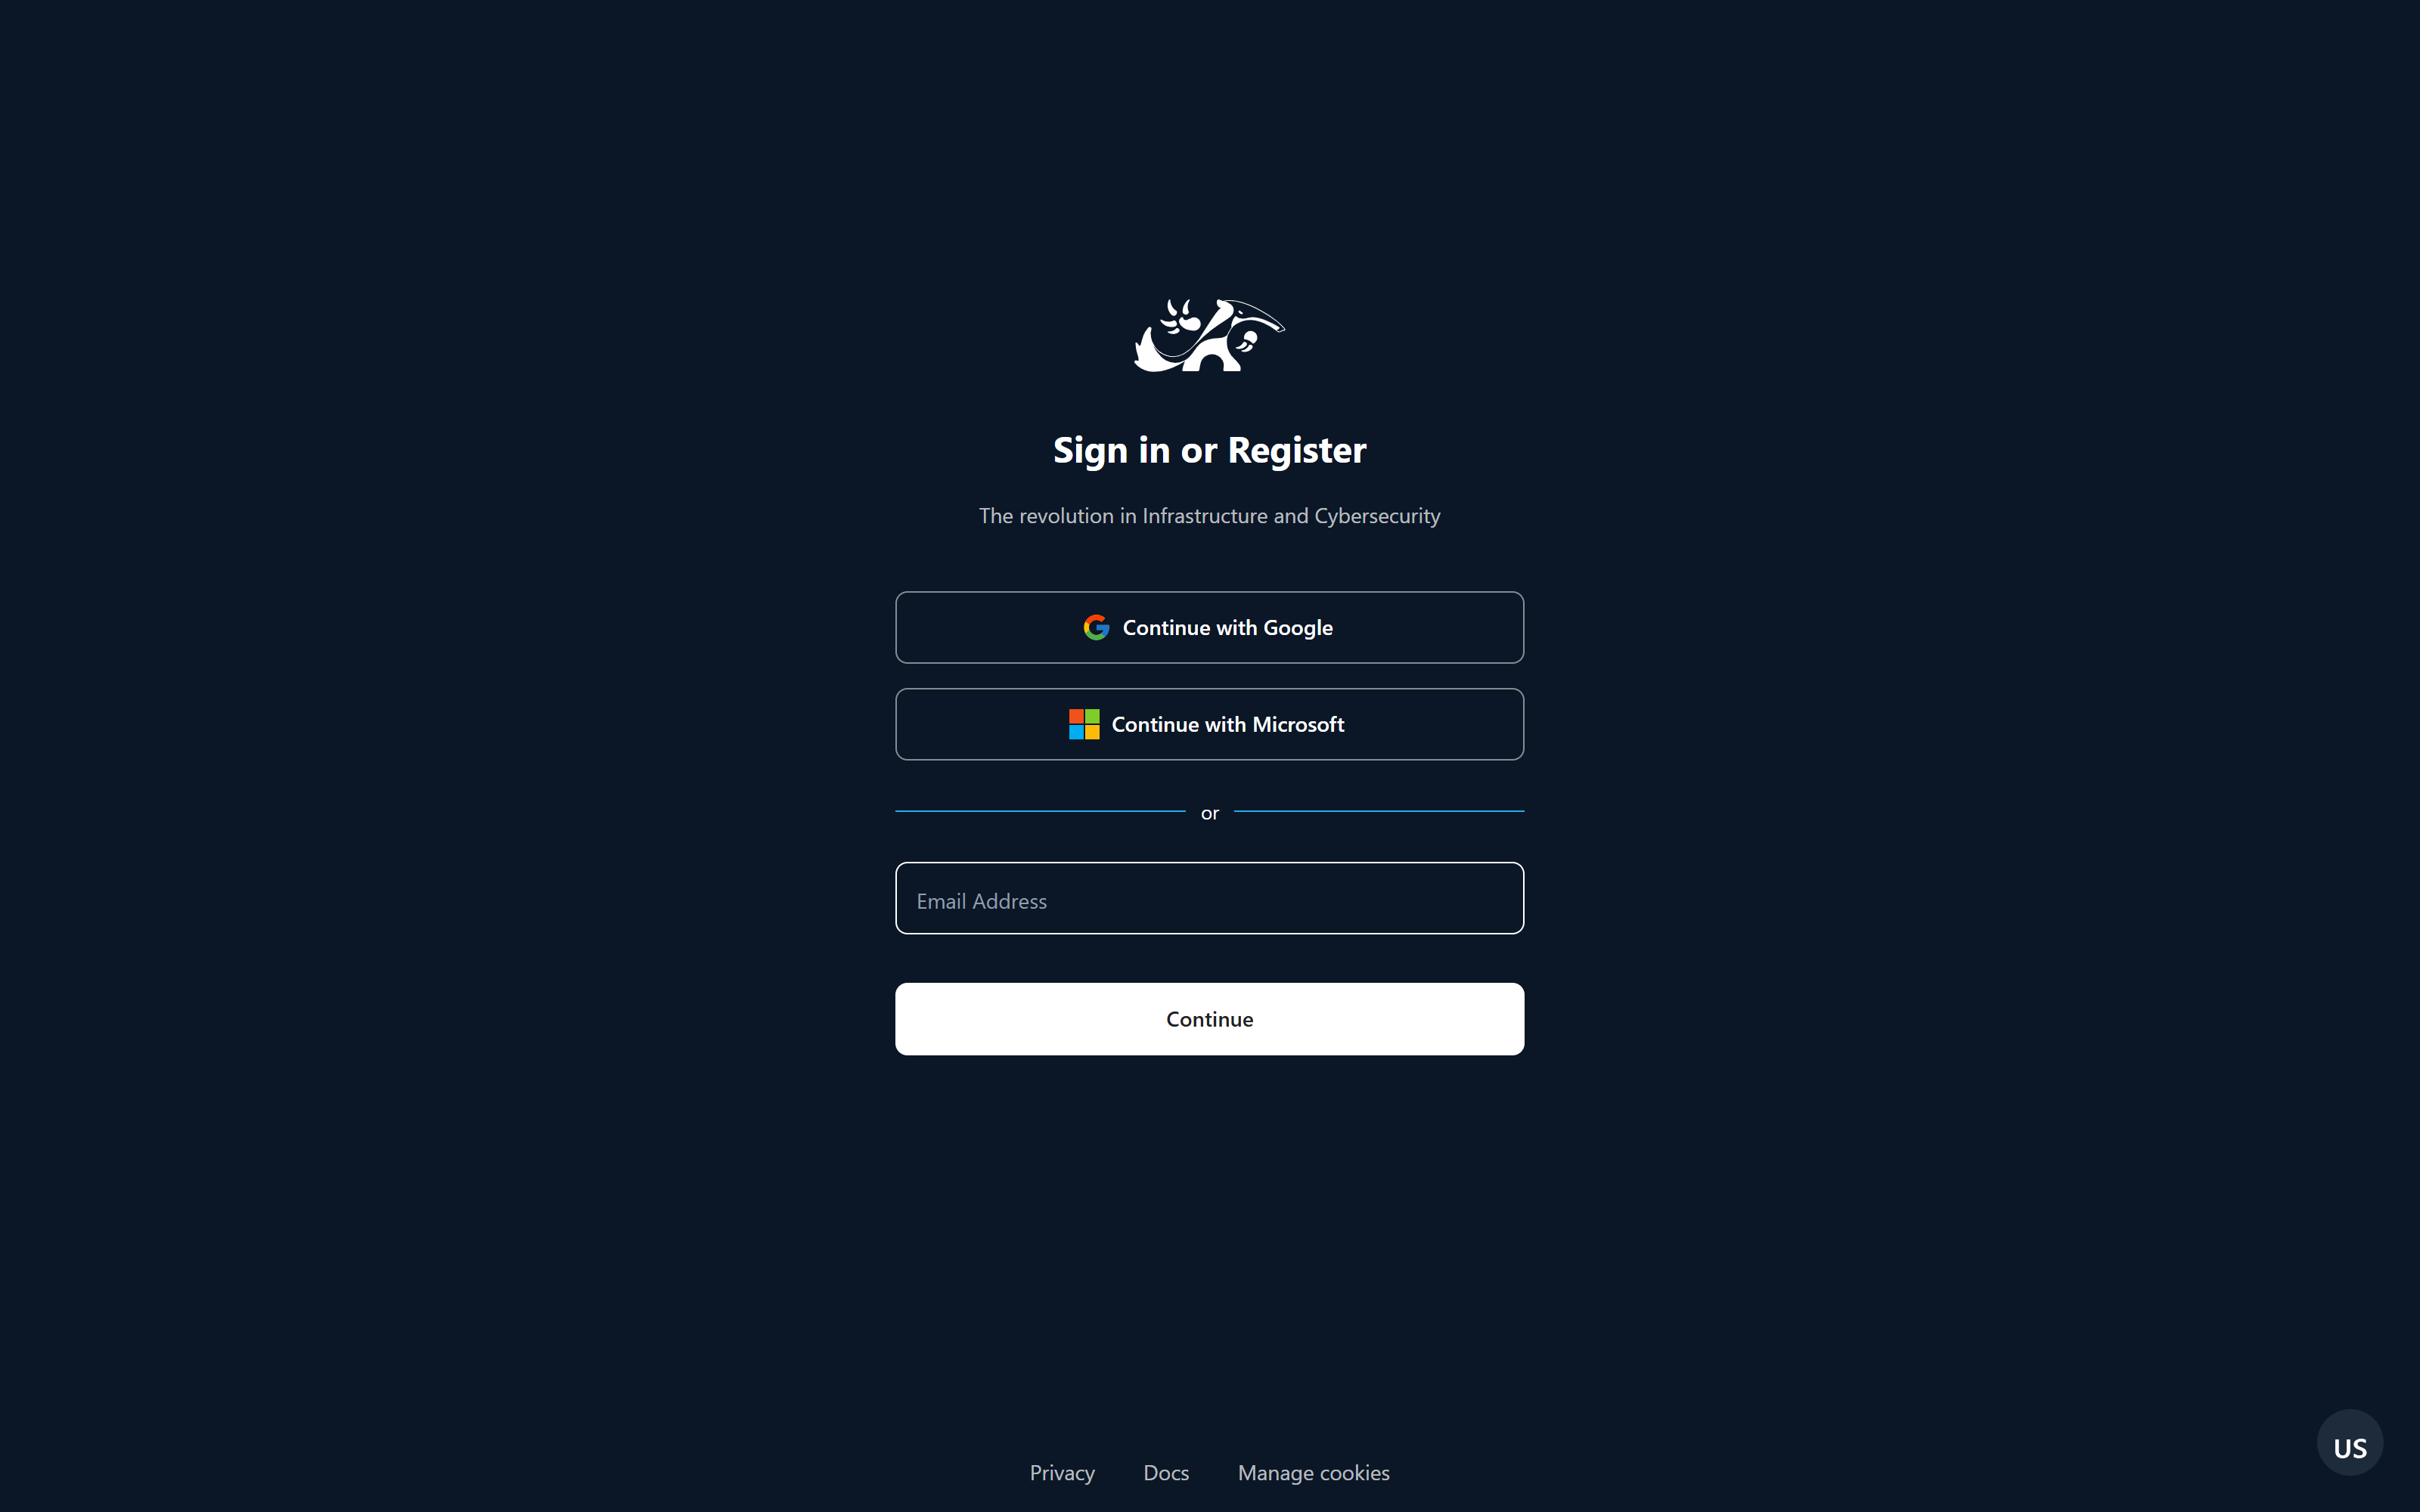
2
Choose your plan
Pick the plan you want to start on — Free, Personal, Business,
or Enterprise. This is also where public-sector customers identify
themselves, which routes them to the contact-based process instead of
self-service.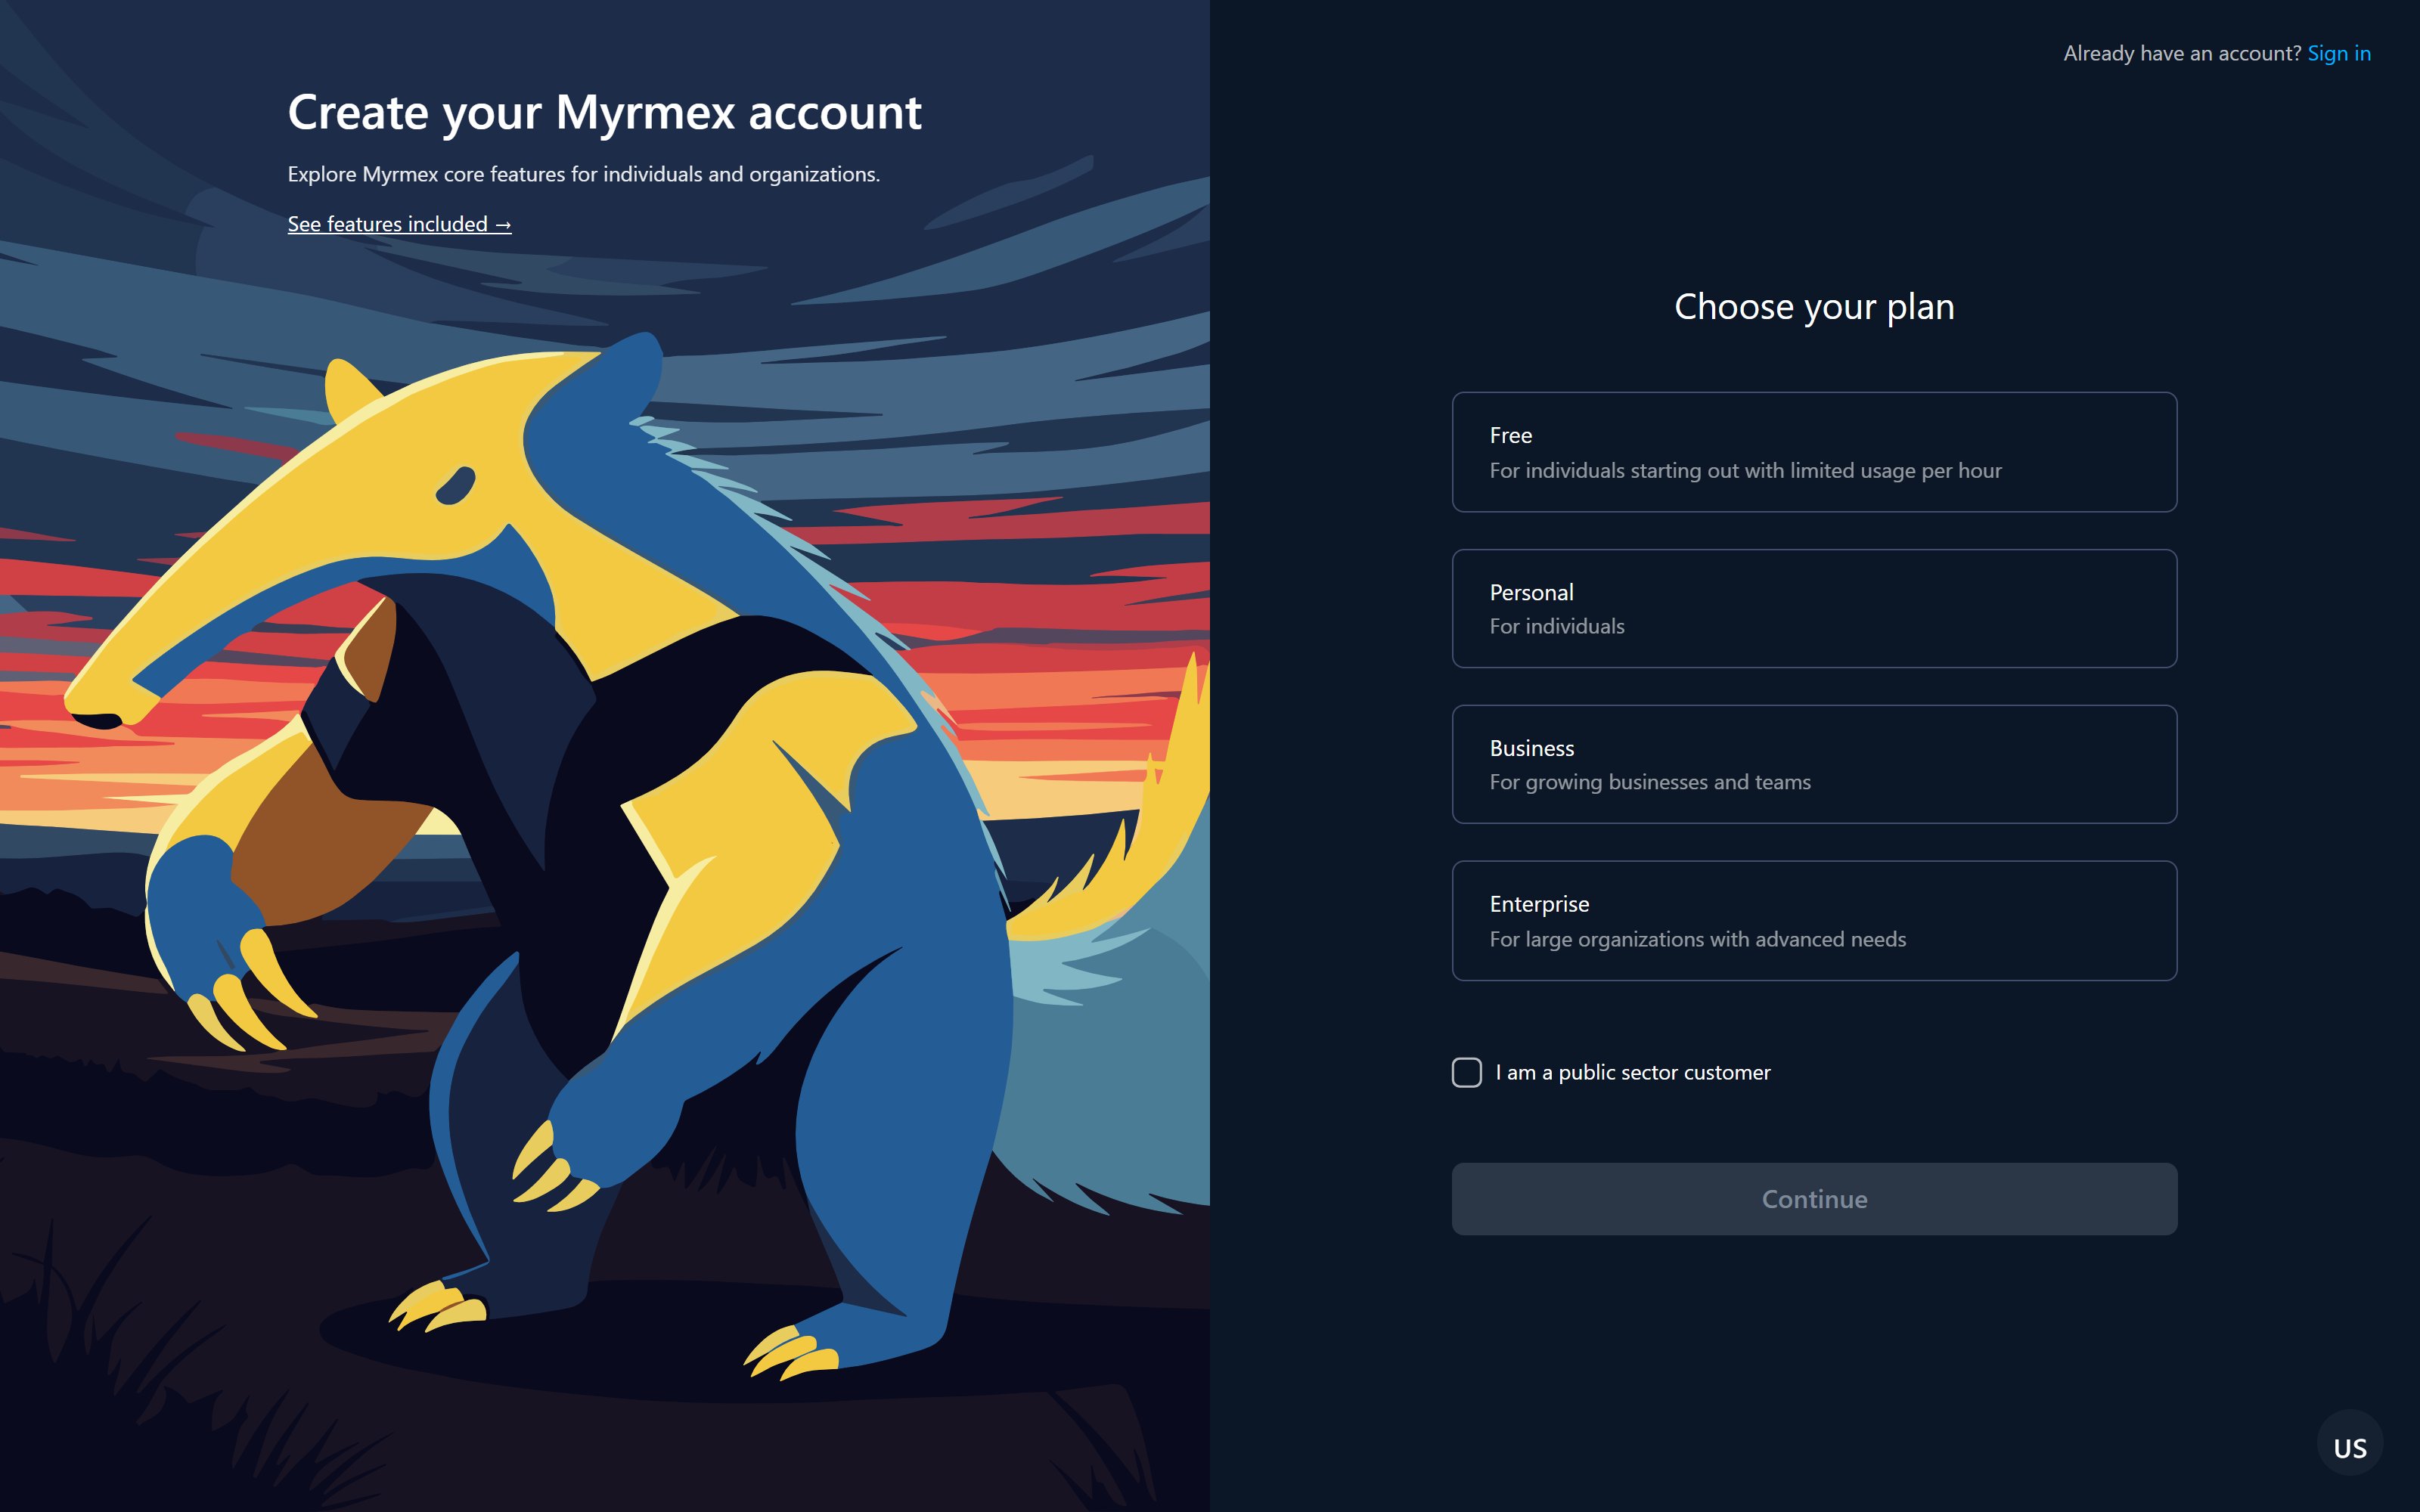
3
Create your password
Pick a password with at least 12 characters, including an uppercase
letter, a lowercase letter, a number, and a special character. Each rule is
checked as you type, and a strength indicator tells you where you stand.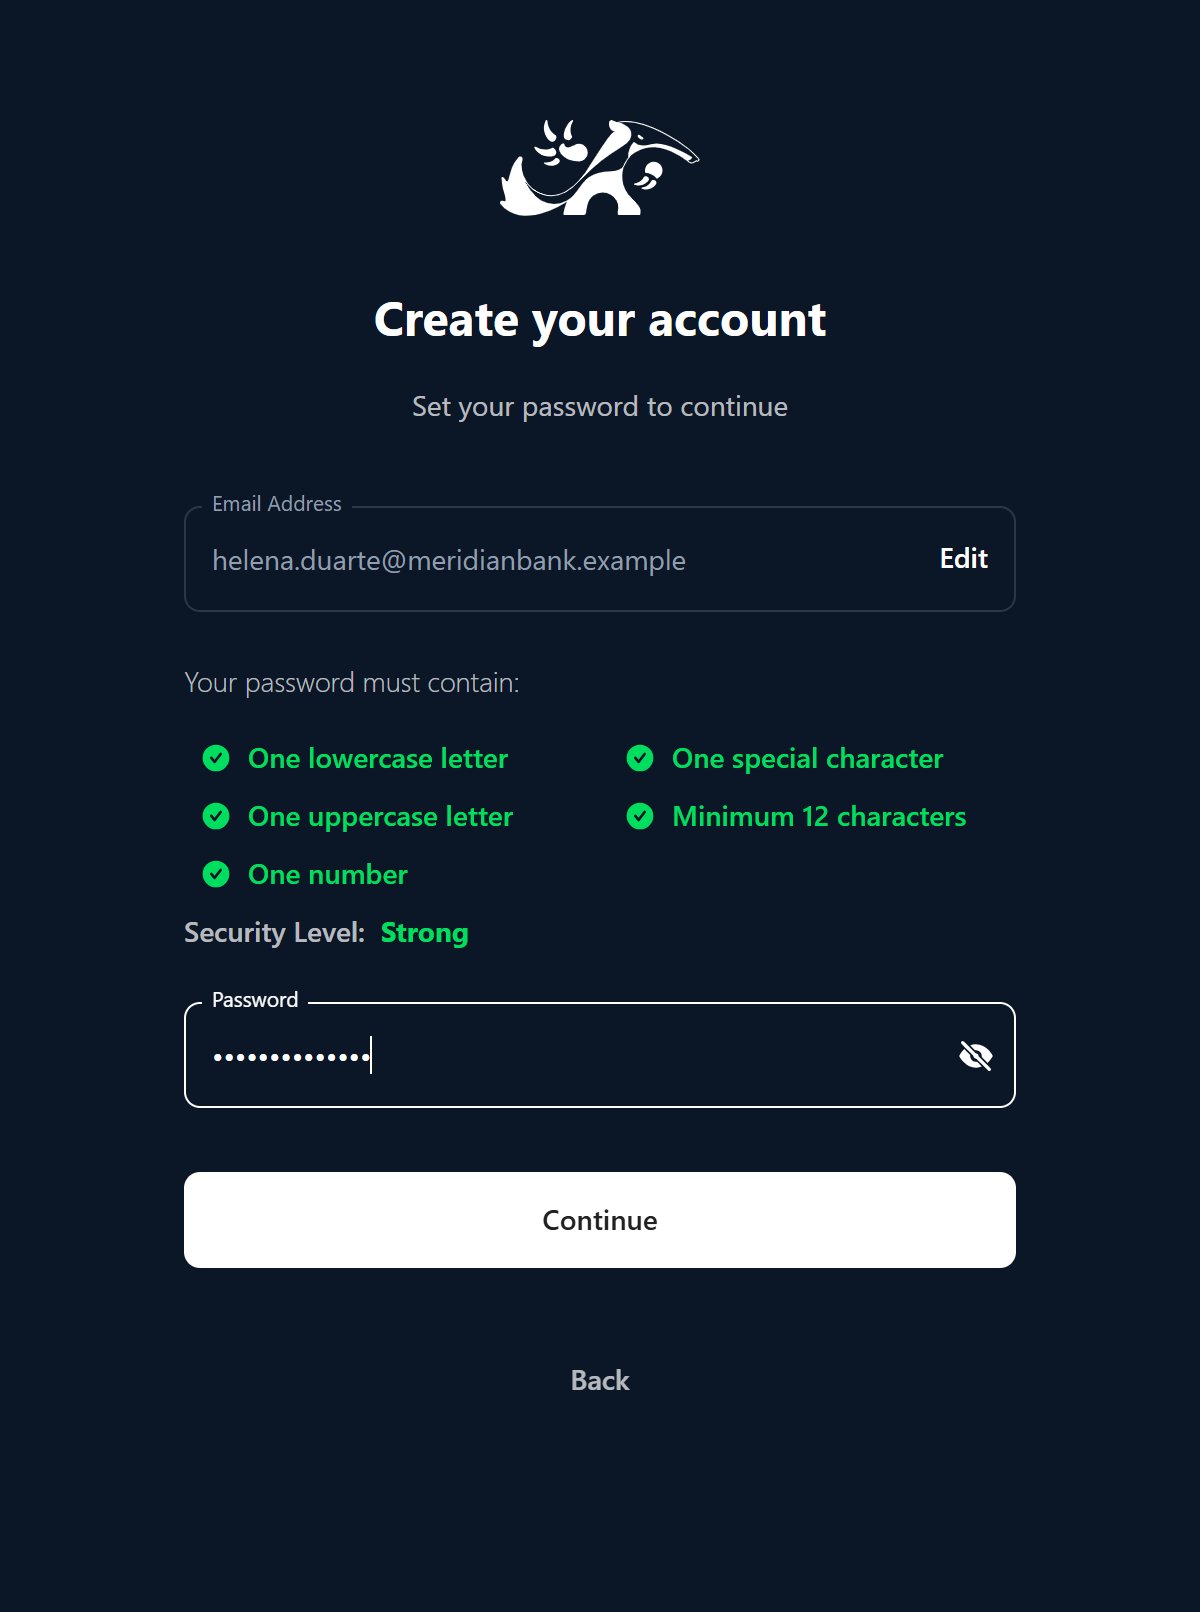
4
Verify your email
Enter the 6-digit code sent to your address. If it does not arrive, you
can request a new one once the countdown ends.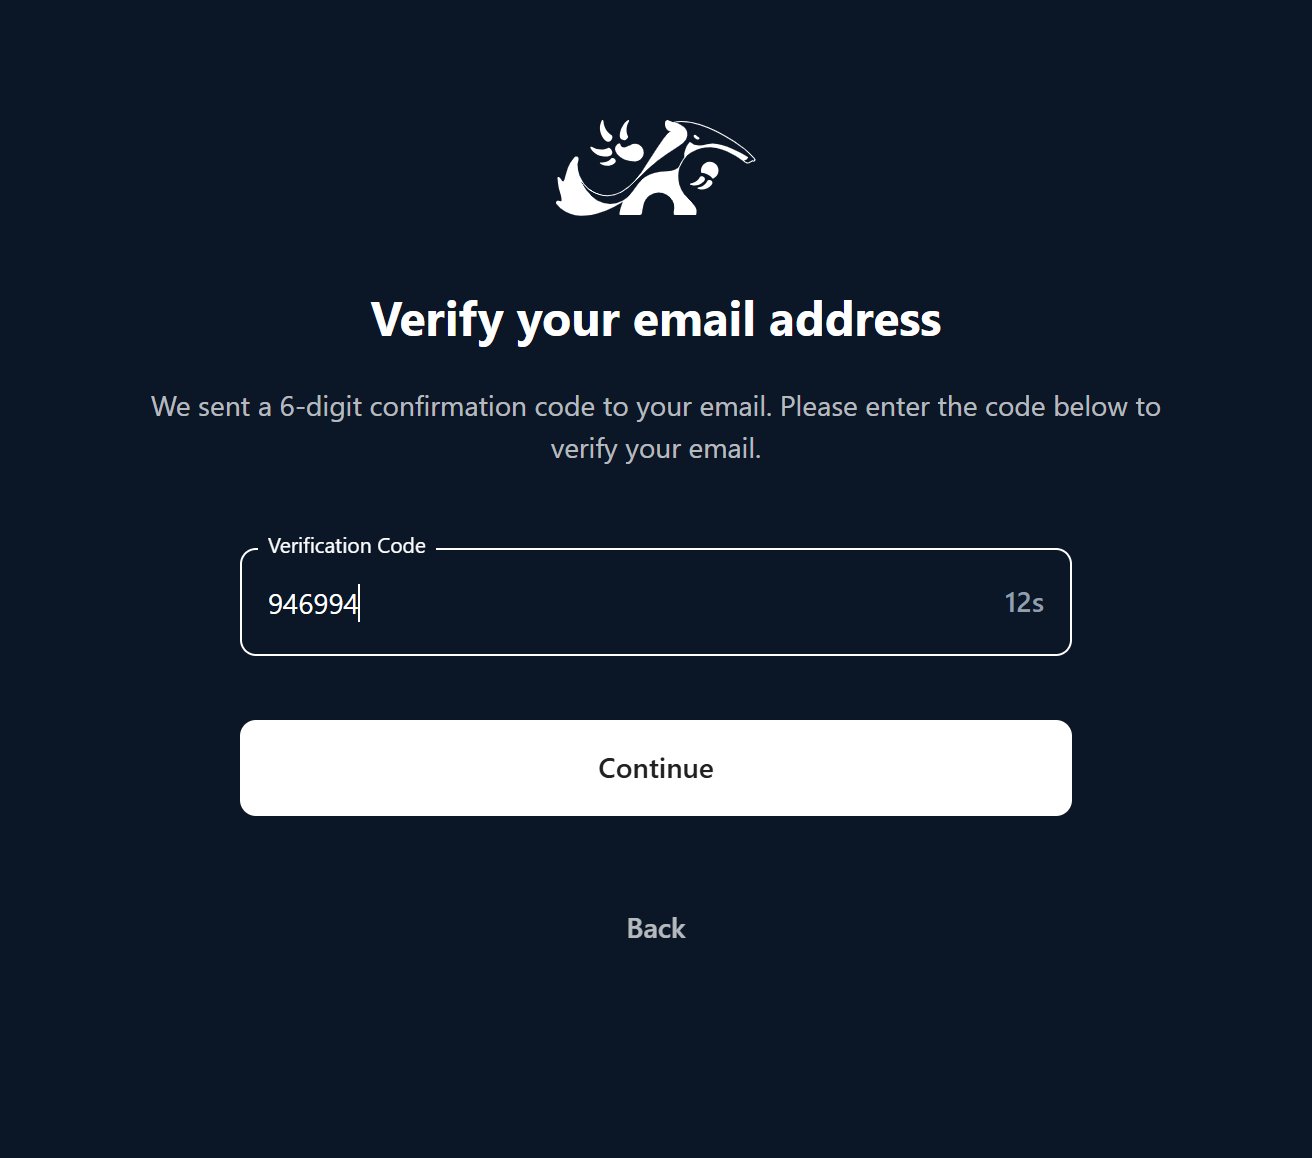
5
Verify your phone
Confirm a phone number by SMS. This step protects new accounts from abuse;
some deployments have it turned off.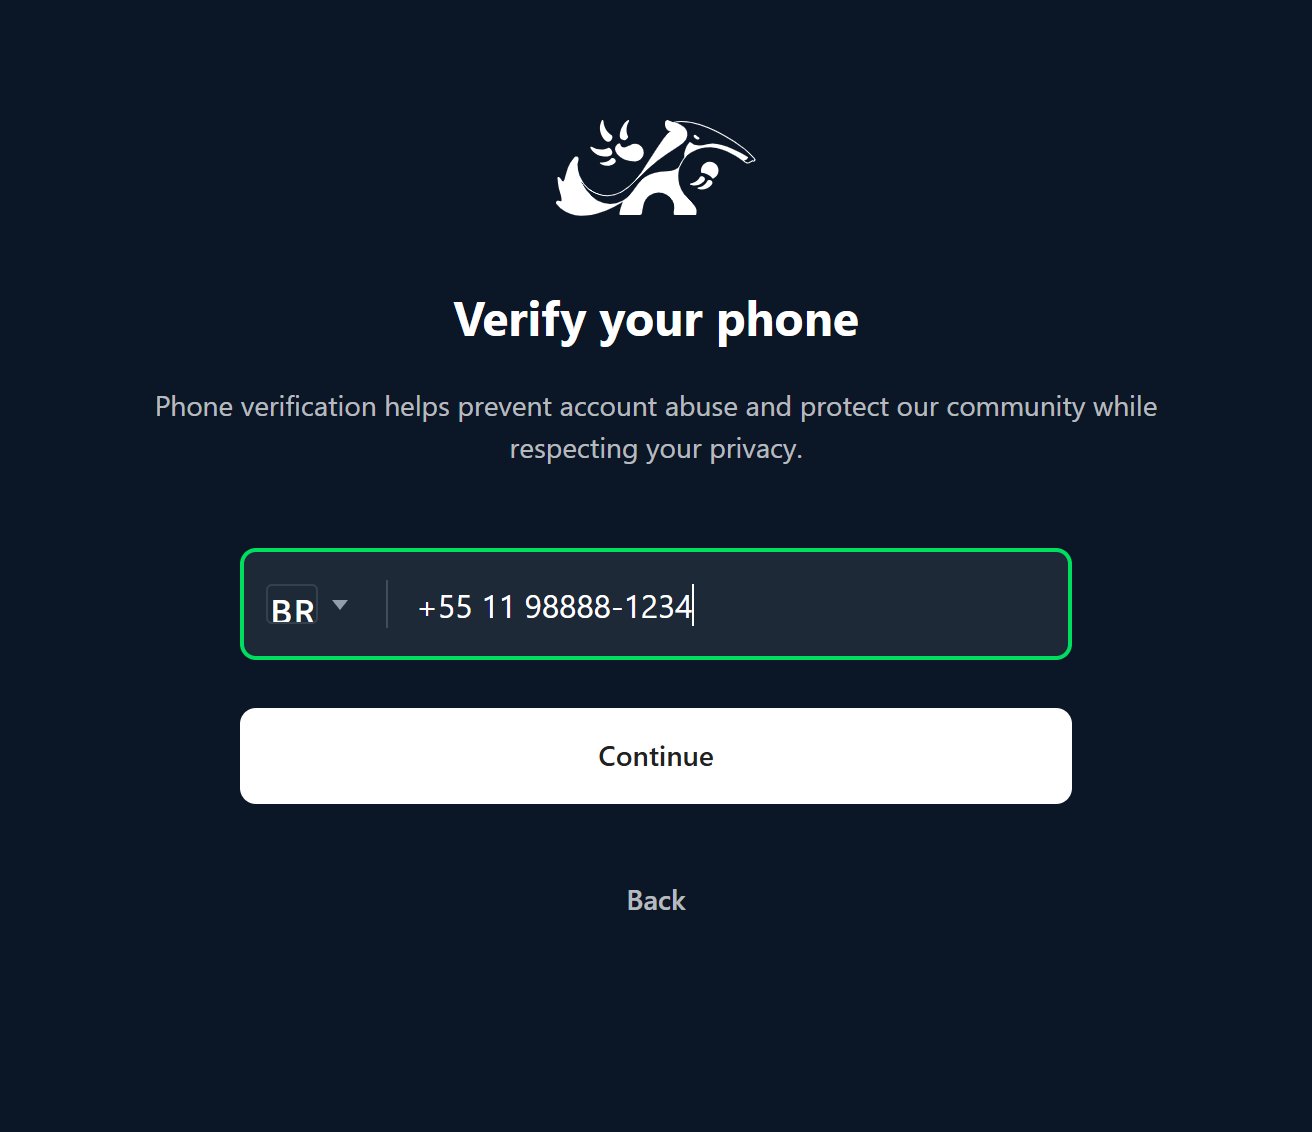
6
Complete your profile
Give your full name and, optionally, a company — the company name
becomes your organization name. Accept the Terms of Service and Privacy
Policy and finish. Myrmex then creates your domain, your first
organization, and a default context, and drops you into the
Workspace.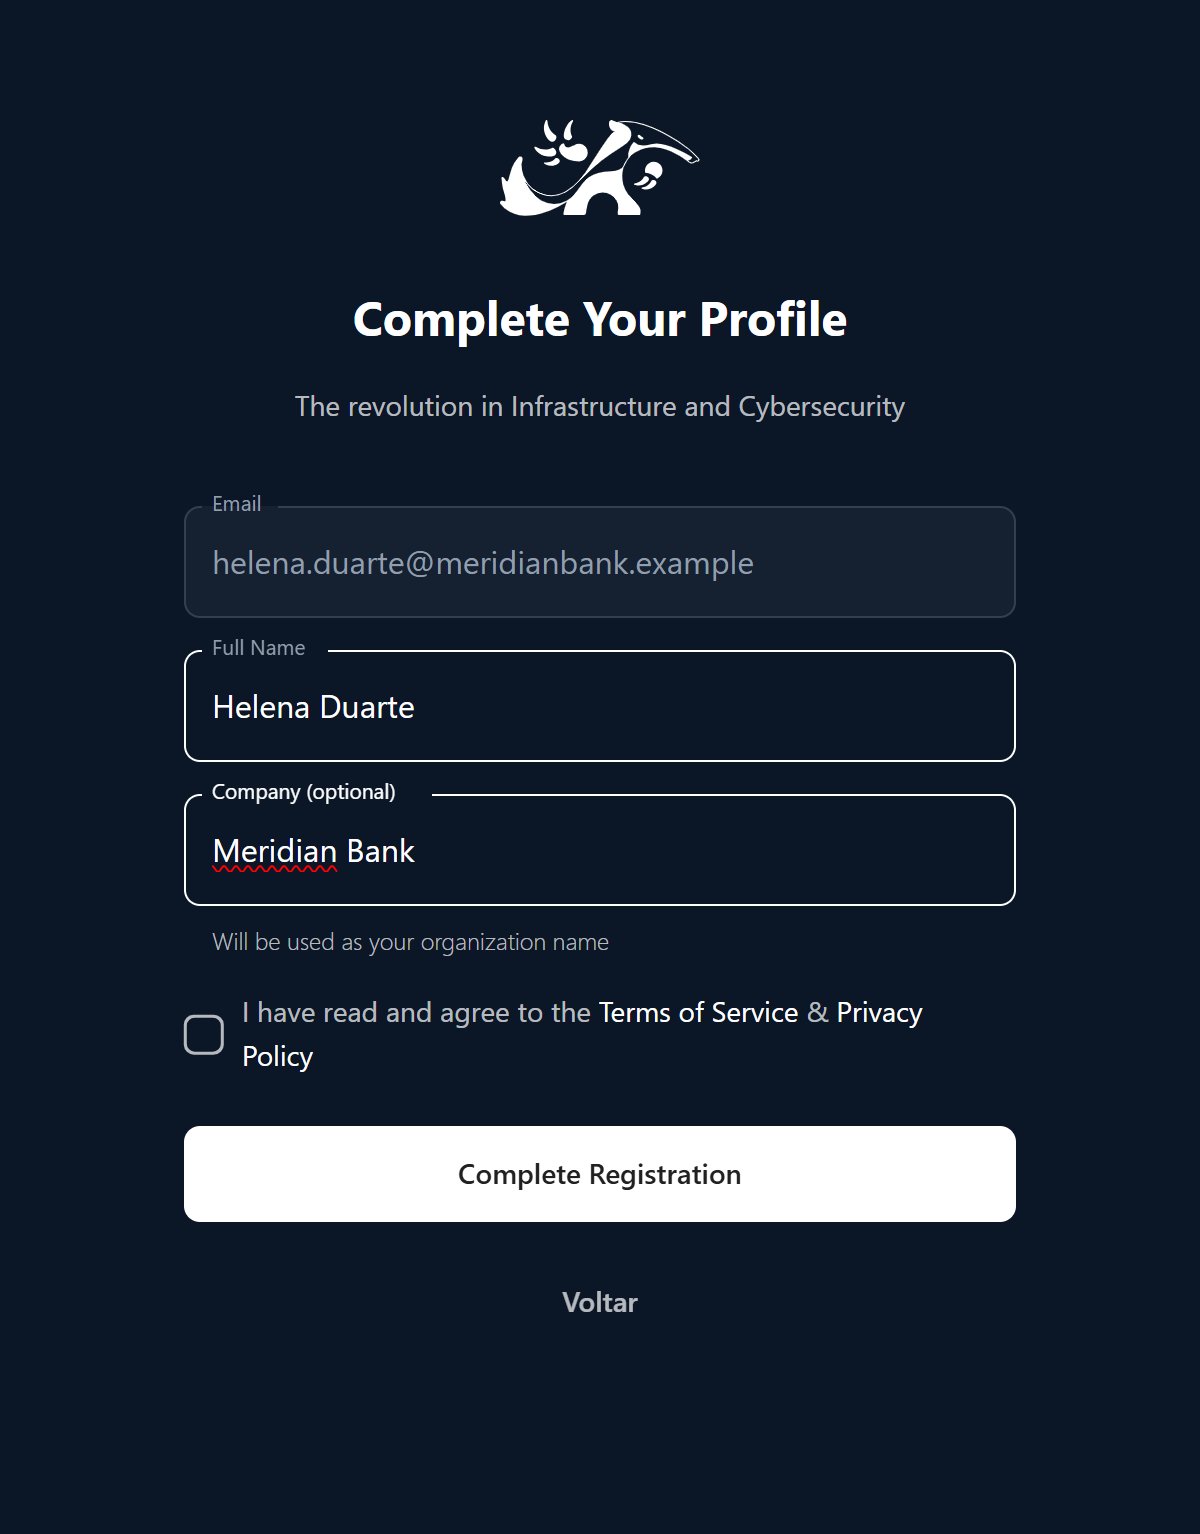
Invited to an existing organization? Skip all of this — accept the
invitation from your email, set a password, and you’re in.
Public sector? Government and public-sector purchases don’t go through
self-service sign-up. They follow a contact-based procurement process — reach
out to the Myrmex sales team instead.
Step 2 — Connect Your First Asset
Myrmex works with two kinds of assets: endpoints (devices running the Myrmex agent) and integrations (external tools like cloud, firewalls, SIEM, or EDR). Start with whichever is closest at hand.Install the agent
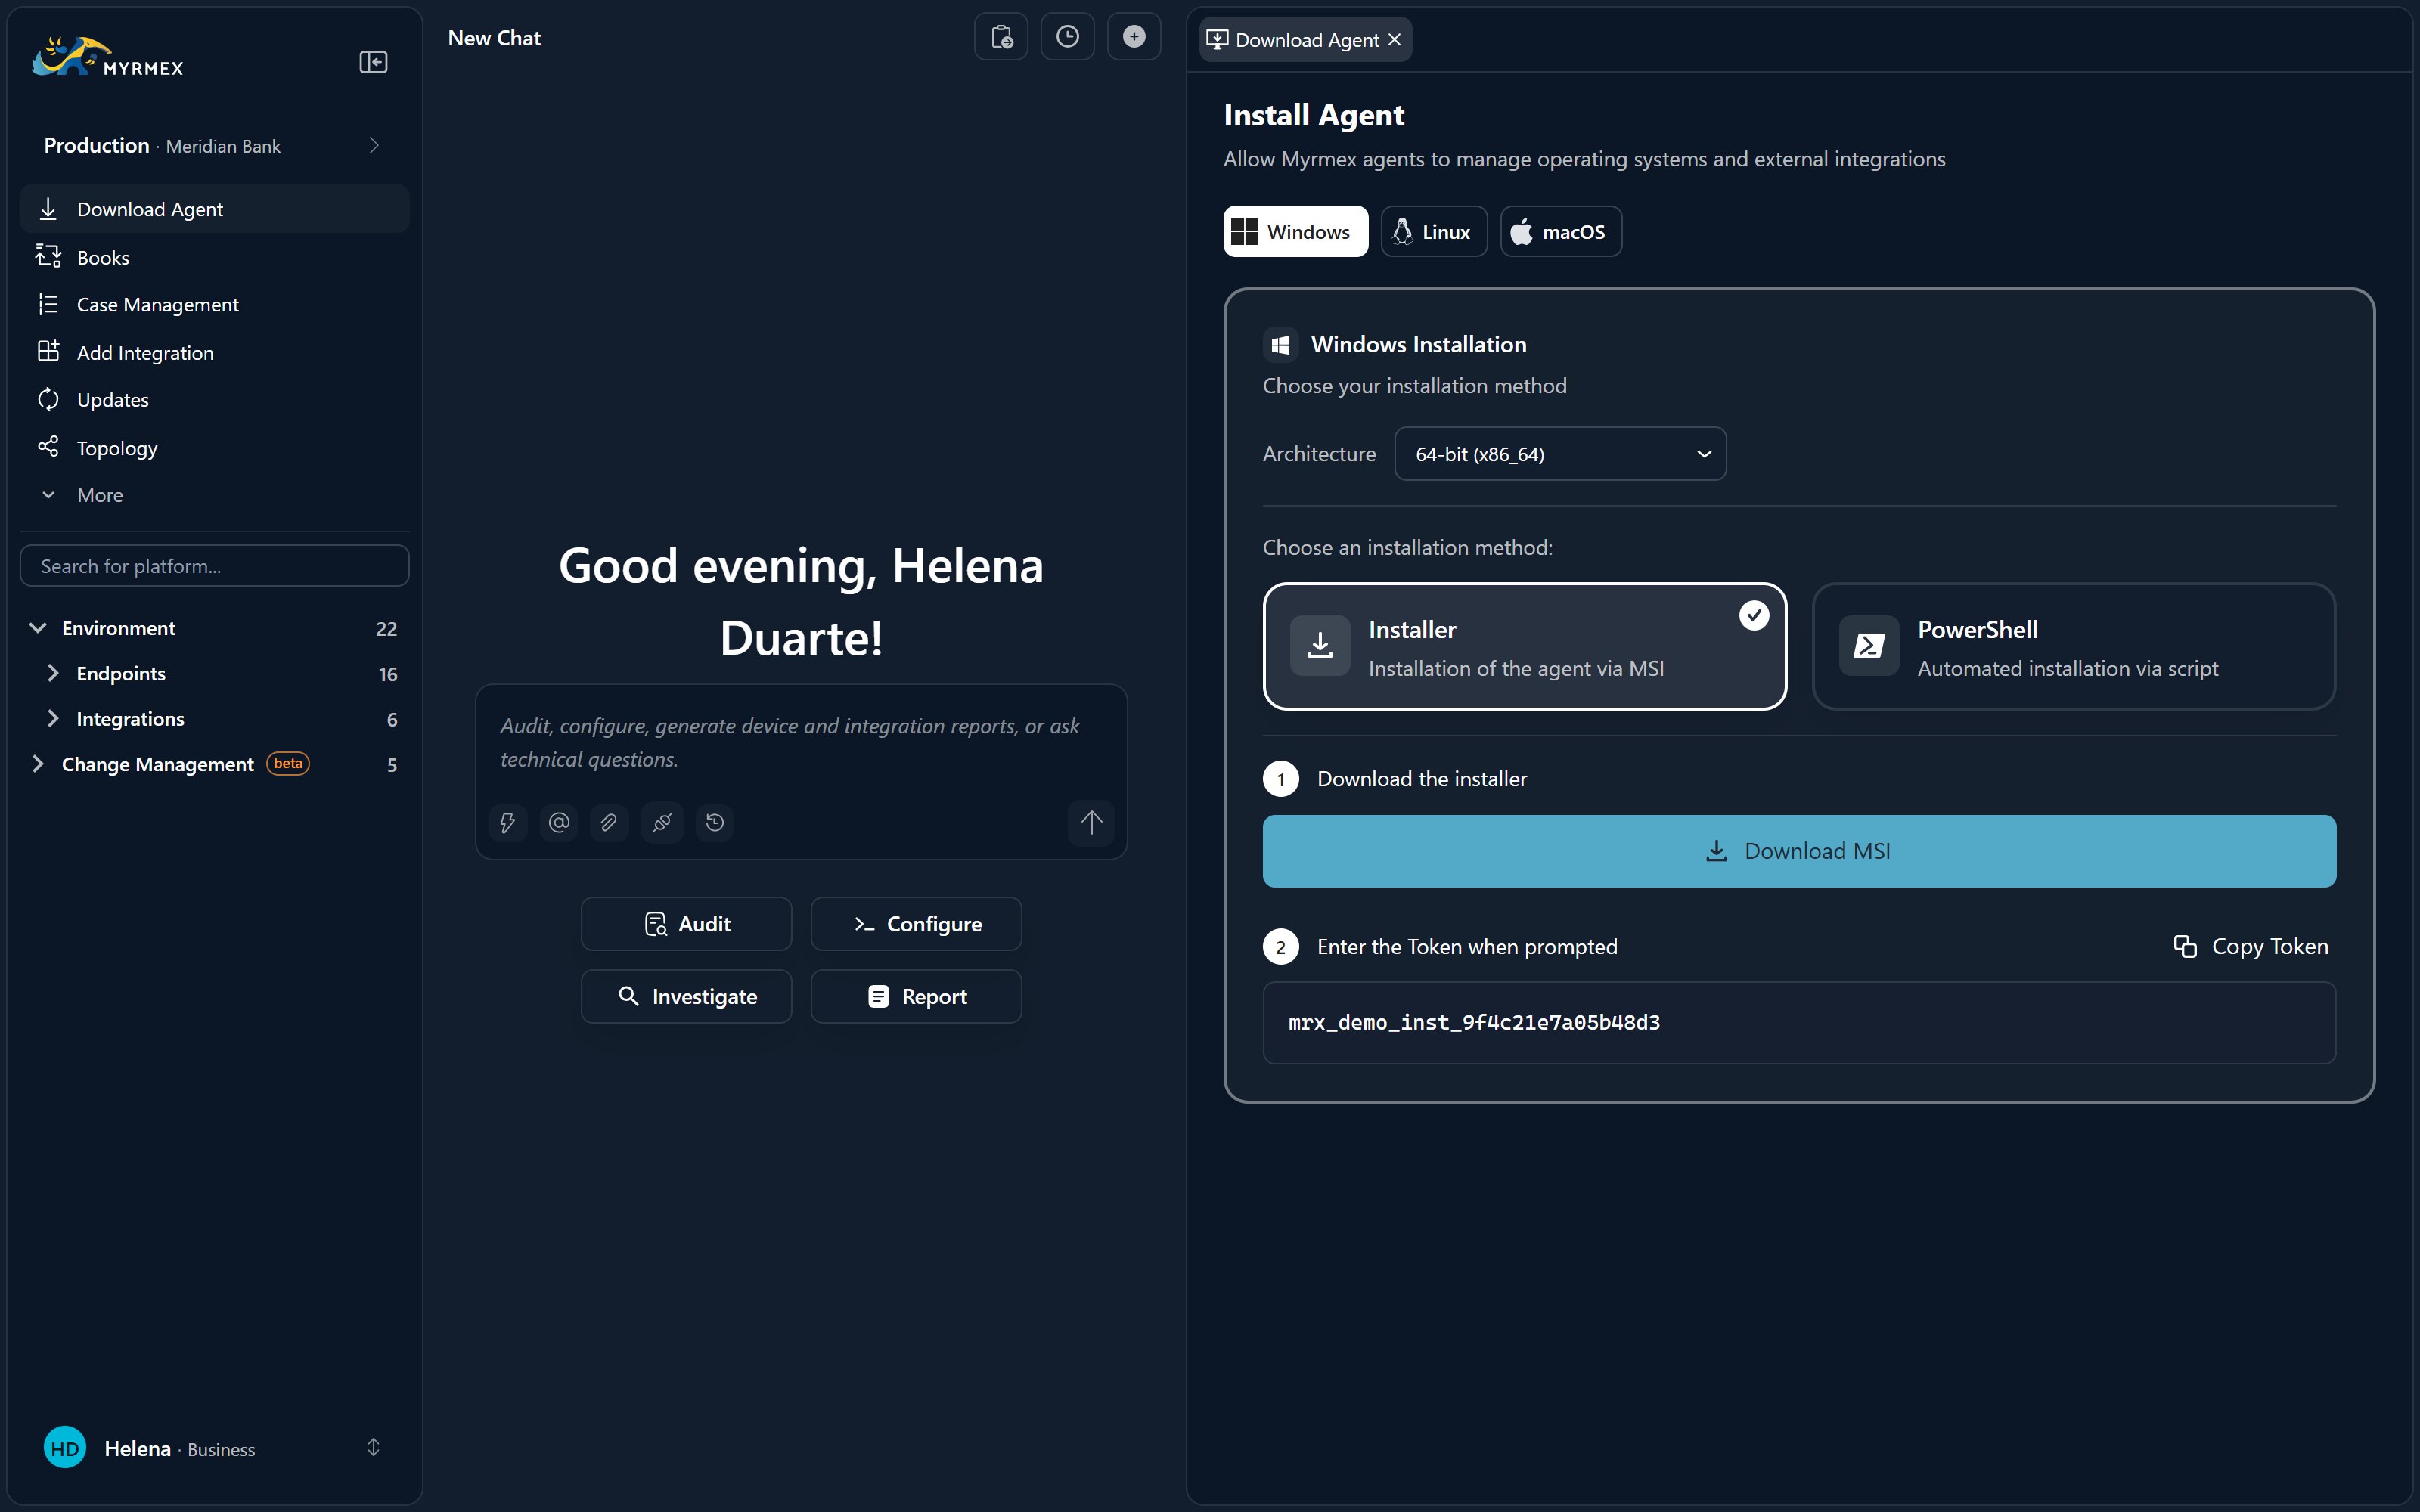
Open Download Agent from the Directory, generate an installation token,
and follow the instructions for Windows, Linux, or macOS.
Connect a tool
Open Add Integration, choose a connector, and provide its credentials.
Myrmex starts working with it right away.
After you install the agent, the new device appears in Endpoints as
unauthorized. Approve it to activate monitoring. See
Deploying the agent for the
full walkthrough.
Step 3 — Ask the AI in the Workspace
The Workspace is your home base. Type what you want in plain language — Centurion routes the request to the right specialist. To be specific, use@-mentions to call an agent or point to a resource.
Try prompts like these:
Take inventory
“List all my Windows devices and highlight any that are offline.”
Run a check
“@Perseus check pending security updates on my domain controller and summarize the risk.”
Investigate a threat
“@Orion investigate the domain example-malicious.com and tell me if it’s associated with known campaigns.”
Step 4 — Review Alerts & Posture
As data flows in, Myrmex surfaces what needs attention:Alerts & cases
Triage detections from your connected SIEM, EDR, and threat-intel sources —
grouped, enriched, and one click from an AI investigation.
Security posture
See your environment scored against frameworks like CIS, NIST, and ISO, with
a prioritized list of what to fix first.
Step 5 — Generate Your First Report
Ask Scribe to turn your findings into a professional document:“@Scribe create a security assessment report from today’s analysis, ready to share with management.”
Where to Go Next
Meet the agents
Learn what each specialist does and how they collaborate.
Core concepts
Contexts, the Workspace, rules, memory, and
@-mentions.Connect your tools
Browse the integration catalog and connect your stack.
Plans & licensing
Compare plans and understand what’s included.